How to set up Debian server with nginx, php5 and MySQL in VM VirtualBox
Set up a Server in your VirtualBox in a few simple steps so you can fire it up whenever you need it,
or simply use it as a playground for your VPS. A Nginx server is small, efficient, and easy to use.
Software
Prerequisites
- 0.1 How to minimally install Debian 8 in VM VirtualBox
- 0.2 Set VM to Bridged Adapter: How to choose VM VirtualBox networking
1. Install Nginx
update package list
apt-get update
install Nginx
apt-get install nginx
2. Check ip address
ifconfig
For the purpose of this example, we are using Bridged Adapter in VM VirtualBox and 192.168.0.16 as the server address Your Debian virtual machine is mostly on DHCP, and the IP might change.
3. Test Nginx
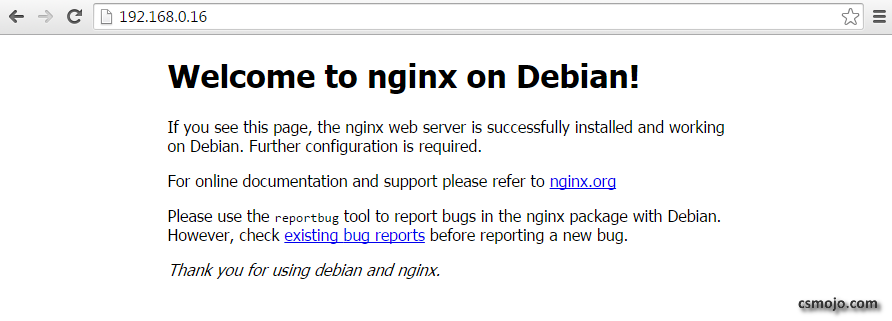
3.1. On your host machine or any other computer within the same network, go to 192.168.0.16 and the Nginx welcome page should show up:
3.2. Back to the Debian server, go to the default root folder of the Nginx server /var/www/html,
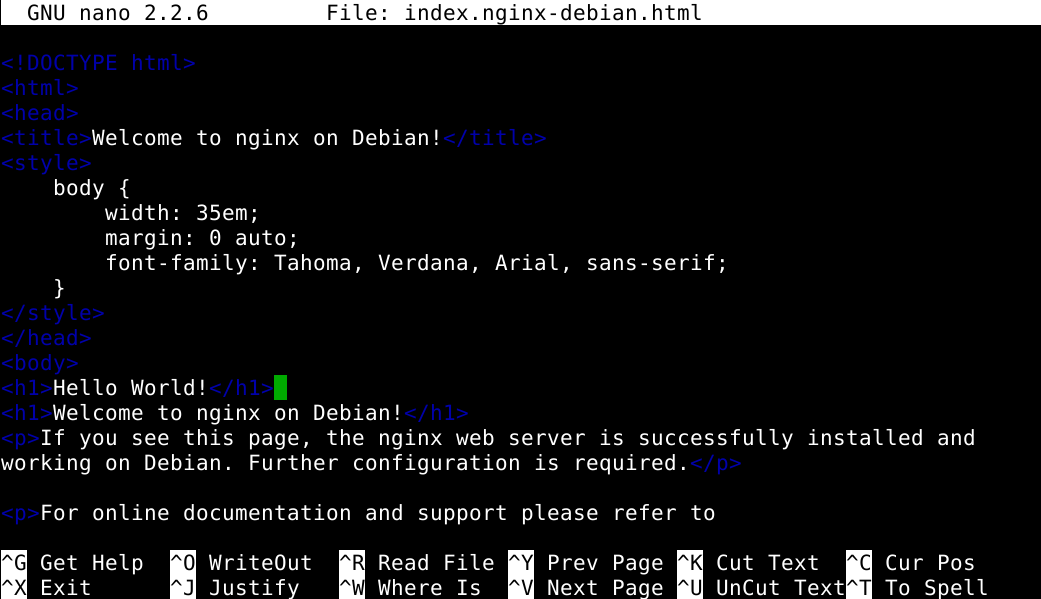
and use nano to open the "index.nginx-debian.html" file. This is the html of the welcome page in 3.1.

3.3. Here we edit it by adding a "Hello World!"; back in the browser, the change would have registered
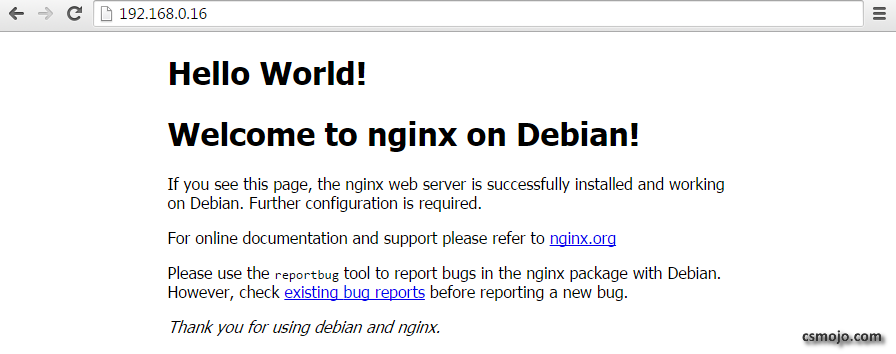
Up to here, you have yourself a functional Nginx server displaying html pages.
- Intall and configure php 4.1. run:
apt-get install php5-fpm
4.2. Configure security - change "cgi.fix_pathinfo"
nano /etc/php5/fpm/php.ini
and change "cgi.fix_pathinfo=1" to "cgi.fix_pathinfo=0" The above is more of the "conservative" method. Discussion on this matter is old: Nginx & PHP via FastCGI important security issue Nginx wiki's alternative: FastCGI Example
4.3. Configure Nginx to use php
nano /etc/nginx/sites-available/default
and add "index.php" to the list

also uncomment the "location ~ .php{}" function to use Unix sockets

Some tutorials suggest editing the following file to enable sockets, but the above is sufficient

5. Test php
5.1. In the server's root directory, remove "index.nginx-debian.html" and create "index.php" with the following:
<?php
  phpinfo();
?>
5.2. Restart nginx and php
service php5-fpm restart
service nginx restart
5.3. Again go to 192.168.0.16 in your browser to see the following page:
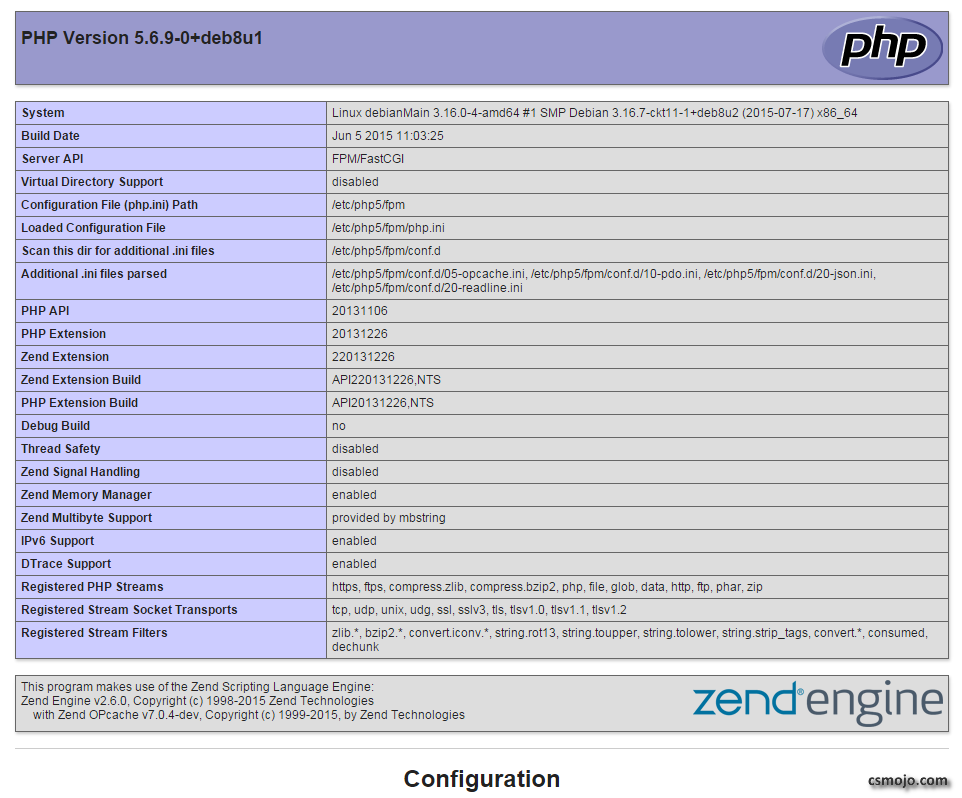
Your Nginx server now can show php and html pages.
6. Install and config MySQL
6.1. Install MySQL the server:
apt-get install mysql-server
the php5-mysql package:
apt-get install php5-mysql
6.2. Run initialization
mysql_install_db
6.3. Run Security improvement script
mysql_secure_installation
7. Test everything at once
modify "index.php" as follows:
<?php
$servername = "localhost";
$username = "root";
$password = "yourpassword";

//new connection
$conn = mysqli_connect($servername, $username, $password);

//check connection
if (!$conn){
  die("connection failed: " . $conn->connect_error);
}
echo "connection ok";

//php info
phpinfo();
?>
Use "mysqli_" as "mysql_" functions are deprecated.
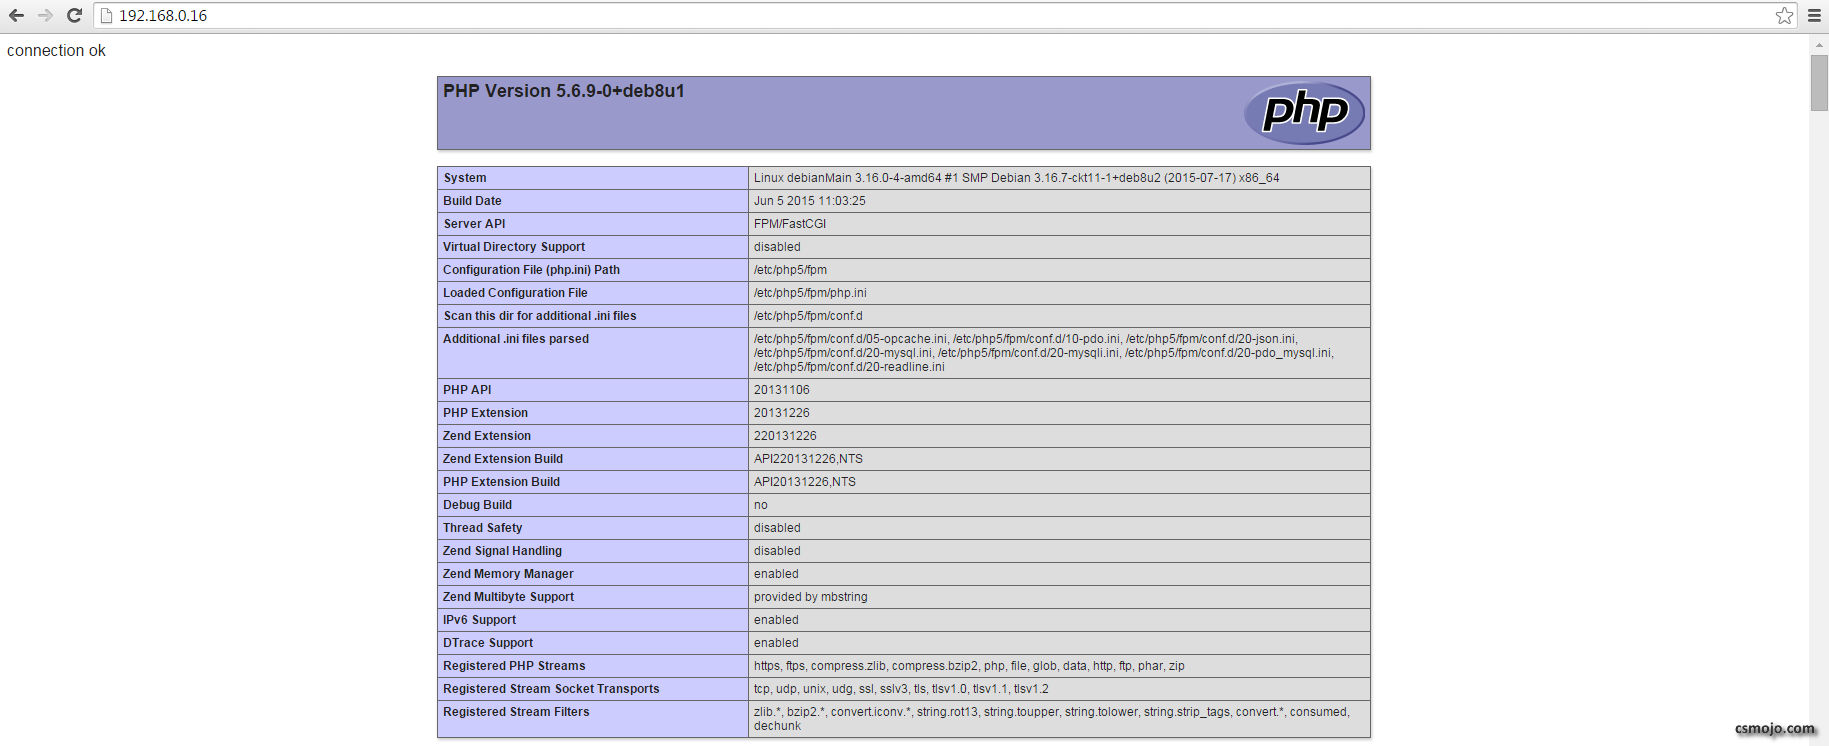
This will test the connection with the MySQL server, and show "connection ok" if connected successfully:
